
Custom radio buttons are a useful and effective way to create a unique user experience on your website. With their flexibility and versatility, they allow you to create a personalized and interactive design without the need for any external resources or scripts.
Radio buttons, also known as option buttons, are a form element used to allow users to select a single option from a list of choices. They are widely used in web forms, surveys, and polls, where the user must make a single choice.
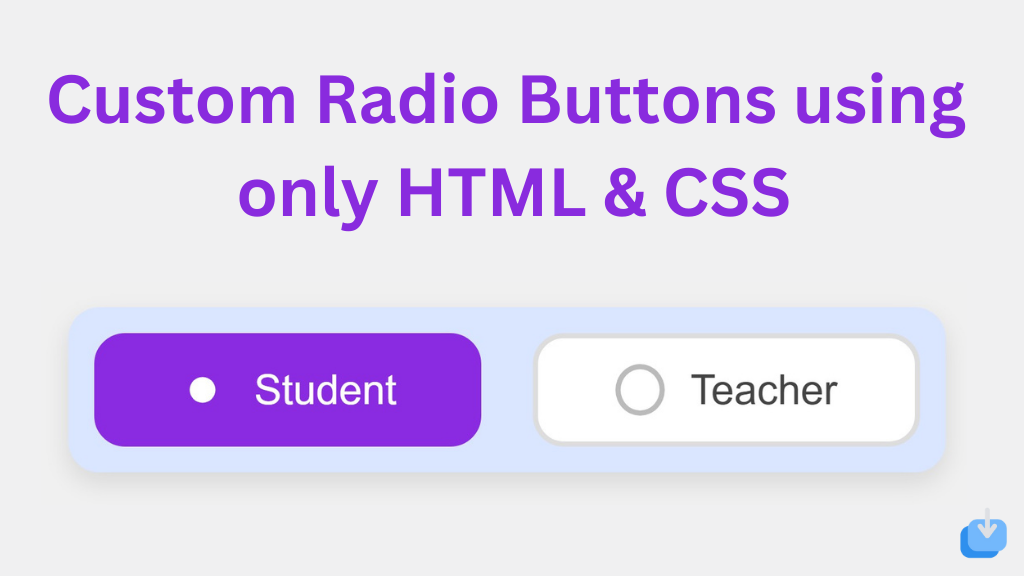
In web development, HTML and CSS are the main languages for creating customized radio buttons. They are relatively easy to grasp and apply on your website. In this blog post, we will explore the process of crafting custom radio buttons using only HTML and CSS.
How To Create Custom Radio Buttons In HTML & CSS
Create a Folder: Start by creating a folder for your project. You can name it anything you like. Inside this folder, you’ll need to create the following files:
- index.html (for the structure of your Custom Radio Buttons)
- style.css (for styling the Custom Radio Buttons)
Create the HTML File:
- Name your HTML file index.html.
Create the CSS File:
- Name your CSS file style.css.
HTML structure for our Buttons
To create a set of custom radio buttons, we first need to set up the HTML structure for our Buttons. This will consist of a label, input, and a span element for option.
					<!DOCTYPE html>
<!-- NotArena || www.NotArena.com -->
<html lang="en">
<head>
    <meta charset="UTF-8">
    <meta name="viewport" content="width=device-width, initial-scale=1.0">
    <title>Custom Radio Buttons</title>
    <link rel="stylesheet" href="style.css">
<style id="wpr-lazyload-bg-container"></style><style id="wpr-lazyload-bg-exclusion"></style>
<noscript>
<style id="wpr-lazyload-bg-nostyle">.elementor-1911 .elementor-element.elementor-element-2e43d051::before, .elementor-1911 .elementor-element.elementor-element-2e43d051 > .elementor-background-video-container::before, .elementor-1911 .elementor-element.elementor-element-2e43d051 > .e-con-inner > .elementor-background-video-container::before, .elementor-1911 .elementor-element.elementor-element-2e43d051 > .elementor-background-slideshow::before, .elementor-1911 .elementor-element.elementor-element-2e43d051 > .e-con-inner > .elementor-background-slideshow::before, .elementor-1911 .elementor-element.elementor-element-2e43d051 > .elementor-motion-effects-container > .elementor-motion-effects-layer::before{--wpr-bg-a755f306-8394-4bf7-99ab-634bdc5c5bd1: url('https://notarena.com/wp-content/uploads/2024/10/BG.png');}.lazyloading{--wpr-bg-3f0424f5-4262-4545-972d-f495d86fb69f: url('https://notarena.com/wp-content/plugins/wp-smushit/app/assets/images/smush-placeholder.png');}</style>
</noscript>
<script type="application/javascript">const rocket_pairs = [{"selector":".elementor-1911 .elementor-element.elementor-element-2e43d051, .elementor-1911 .elementor-element.elementor-element-2e43d051 > .elementor-background-video-container, .elementor-1911 .elementor-element.elementor-element-2e43d051 > .e-con-inner > .elementor-background-video-container, .elementor-1911 .elementor-element.elementor-element-2e43d051 > .elementor-background-slideshow, .elementor-1911 .elementor-element.elementor-element-2e43d051 > .e-con-inner > .elementor-background-slideshow, .elementor-1911 .elementor-element.elementor-element-2e43d051 > .elementor-motion-effects-container > .elementor-motion-effects-layer","style":".elementor-1911 .elementor-element.elementor-element-2e43d051::before, .elementor-1911 .elementor-element.elementor-element-2e43d051 > .elementor-background-video-container::before, .elementor-1911 .elementor-element.elementor-element-2e43d051 > .e-con-inner > .elementor-background-video-container::before, .elementor-1911 .elementor-element.elementor-element-2e43d051 > .elementor-background-slideshow::before, .elementor-1911 .elementor-element.elementor-element-2e43d051 > .e-con-inner > .elementor-background-slideshow::before, .elementor-1911 .elementor-element.elementor-element-2e43d051 > .elementor-motion-effects-container > .elementor-motion-effects-layer::before{--wpr-bg-a755f306-8394-4bf7-99ab-634bdc5c5bd1: url('https:\/\/notarena.com\/wp-content\/uploads\/2024\/10\/BG.png');}","hash":"a755f306-8394-4bf7-99ab-634bdc5c5bd1","url":"https:\/\/notarena.com\/wp-content\/uploads\/2024\/10\/BG.png"},{"selector":".lazyloading","style":".lazyloading{--wpr-bg-3f0424f5-4262-4545-972d-f495d86fb69f: url('https:\/\/notarena.com\/wp-content\/plugins\/wp-smushit\/app\/assets\/images\/smush-placeholder.png');}","hash":"3f0424f5-4262-4545-972d-f495d86fb69f","url":"https:\/\/notarena.com\/wp-content\/plugins\/wp-smushit\/app\/assets\/images\/smush-placeholder.png"}]; const rocket_excluded_pairs = [];</script></head>
<body>
    <div class="radio-group">
        <input type="radio" id="student" name="role" class="radio-input" checked>
        <label for="student" class="radio-label">
            <span class="radio-circle"></span>
            Student
        </label>

        <input type="radio" id="teacher" name="role" class="radio-input">
        <label for="teacher" class="radio-label">
            <span class="radio-circle"></span>
            Teacher
        </label>
    </div>
<script>var rocket_beacon_data = {"ajax_url":"https:\/\/notarena.com\/wp-admin\/admin-ajax.php","nonce":"151665f498","url":"https:\/\/notarena.com\/code-library\/custom-radio-buttons-using-only-html-amp-css","is_mobile":false,"width_threshold":1600,"height_threshold":700,"delay":500,"debug":null,"status":{"atf":true,"lrc":true},"elements":"img, video, picture, p, main, div, li, svg, section, header, span","lrc_threshold":1800}</script><script data-name="wpr-wpr-beacon" src='http://notarena.com/wp-content/plugins/wp-rocket/assets/js/wpr-beacon.min.js' async></script></body>
</html>
In the code above, we have created three options with corresponding labels and input elements. The input elements have a “type” attribute set to “radio” and a “name” attribute to group them. It is essential to have a unique “id” for each input element, as it will be used to connect it with its corresponding label.
Styling with CSS
Second, we will add some CSS properties to give our button a styling.
					 * {
    margin: 0;
    padding: 0;
    box-sizing: border-box;
}

body {
    display: flex;
    justify-content: center;
    align-items: center;
    min-height: 100vh;
    background-color: #f0f0f0;
    font-family: 'Arial', sans-serif;
}

.radio-group {
    display: flex;
    gap: 20px;
    background-color: rgb(218, 230, 255);
    padding: 10px;
    border-radius: 12px;
    box-shadow: 0 4px 10px rgba(0, 0, 0, 0.1);
}

.radio-input {
    display: none;
}

.radio-label {
    display: flex;
    align-items: center;
    gap: 10px;
    padding: 10px 30px;
    font-size: 16px;
    color: #444;
    background-color: #fff;
    border: 2px solid #ddd;
    border-radius: 12px;
    cursor: pointer;
    transition: all 0.3s ease;
    text-align: center;
    width: 150px;
    position: relative;
}

.radio-circle {
    width: 20px;
    height: 20px;
    border: 2px solid #bbb;
    border-radius: 50%;
    display: inline-block;
    position: relative;
    transition: all 0.3s ease;
}

.radio-input:checked + .radio-label .radio-circle {
    background-color: #8a2be2; /* Purple fill when selected */
    border-color: #8a2be2; /* Purple border */
    box-shadow: 0 0 0 4px rgba(138, 43, 226, 0.3); /* Glowing effect */
}

.radio-input:checked + .radio-label {
    background-color: #8a2be2; /* Button background turns purple when selected */
    color: white;
    border-color: #8a2be2;
}

.radio-label:hover {
    border-color: #8a2be2; /* Red-orange on hover */
}

.radio-input:checked + .radio-label .radio-circle:after {
    content: '';
    width: 10px;
    height: 10px;
    background-color: white; /* White center for the checkmark */
    border-radius: 50%;
    position: absolute;
    top: 50%;
    left: 50%;
    transform: translate(-50%, -50%);
    transition: all 0.3s ease;
}
We have used the span element to create the circle shape for our radio button. With the use of border-radius, we have given it a circular shape, and with the border property, we have added a white border.
Creating custom radio buttons using HTML and CSS can improve your website’s user experience. You can design unique and interactive radio buttons without using external resources or scripts. It’s important to ensure that custom radio buttons are accessible on your website. Experiment with different styles to find the perfect fit for your design.
If the code doesn’t work or if you run into any issues, please leave a comment below or reach out to us through the contact page.
- Like
- Digg
- Del
- Tumblr
- VKontakte
-
- Buffer
- Love This
- Odnoklassniki
-
- Meneame
- Blogger
- Amazon
- Yahoo Mail
- Gmail
- AOL
- Newsvine
- HackerNews
- Evernote
- MySpace
- Mail.ru
- Viadeo
- Line
- Comments
- Yummly
- SMS
- Viber
-
- Subscribe
- Skype
- Facebook Messenger
- Kakao
- LiveJournal
- Yammer
- Edgar
- Fintel
- Mix
- Instapaper
- Copy Link


